1. KEYBOARD SHORTCUTS
Learning keyboard shortcuts means less time using your mouse and more time actually designing. You can use the preset shortcuts that come with the program or you can customize the ones you use the most! Go to Edit > Keyboard Shortcuts to set your own shortcuts or change already existing ones to your liking. For example, I use Smart Objects a lot in Photoshop so I replaced the shortcut to open in Adobe Bridge with the keys to open a Smart Object without having to double-click the layer! I use an Mac computer so if you have a Windows computer, you can interchange Command for Ctrl, as shown below.

Image via Photoshop Training Channel
Here are some other shortcuts not shown above:
- To lower the opacity of a selected layer, you can use the number pad on your keyboard! For example, 1 = 10%, 2 = 20% and so on! If you press a number quickly and twice it will make it more specific, for example, 11 = 11%, 25 = 25%, etc.
- To close the tab of a window in Photoshop you’re working in, press COMMAND + W. Super useful when editing a smart object in your file, so you don’t have to close the tab manually.
- To scale text up and down using your keyboard, select all the text you want to scale, and hold SHIFT + COMMAND + < to make smaller and SHIFT + COMMAND + > to make bigger.
- To exit a text box you’re editing, press COMMAND + RETURN. If you press escape you’ll lose the edits you made in the text box (yeah don’t do that!)
- To decrease or increase your brush size, with the brush tool open, use . Play around with it and you’ll get the hang of it.
- To group layers, select all the layers you want to organize and press COMMAND + G. It’s as easy as that!
- Flip between the foreground and background colors, using X.
- To go to the Hand Tool while using another tool, hold spacebar, click and drag with your mouse to move around your canvas.
- To duplicate the layer you’re working in, press COMMAND + J.
There are hundreds of other keyboard shortcuts available, so be sure to check out the link above.
2. DEFAULT SETTINGS IN LAYER STYLES
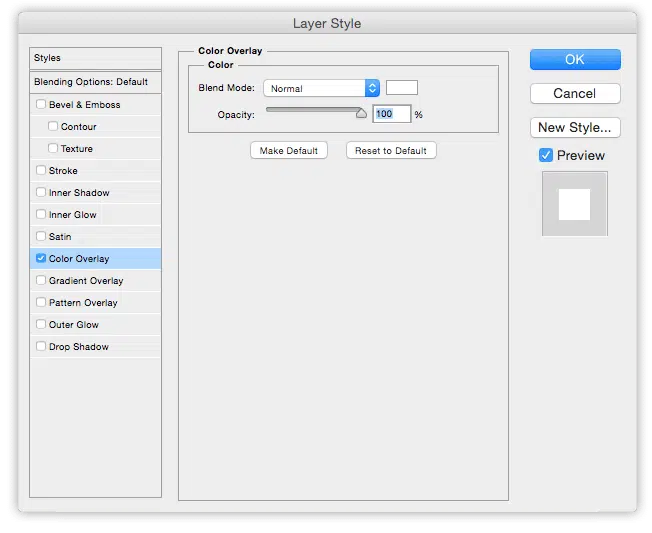
If you use layer styles often and you find yourself using the same color, drop shadow settings, or any other style, customize the settings then click the button that says “Make Default.” The next time you open that specific layer style, your default settings will appear! This will definitely save you time trying to perfect the drop shadow (which you should only be using sparingly by the way!) If you want to make sure you’re not committing any other design sins, read our other blog about the 7 Deadly Sins of Graphic Design!
Here’s an example of the layer styles panel, where you can set your default color overlay color!
3. ORGANIZING LAYERS
Layers, layers and more layers! That’s what a non graphic designer may think when they first open a photoshop graphic design file! A file with a minimal amount of layers is easy to manage and navigate through. When you have to start scrolling down to reach your last layer that’s when you should start think about organizing them. Start with naming your layers when you first create them. Then you can design. One thing I’ve found to be useful, is using “Auto-Select” and after you finish a part of your design, select all your elements and press
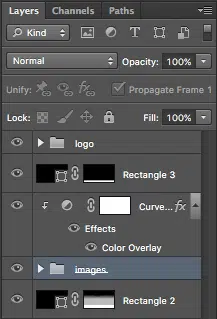
COMMAND + G to group those layers, then name it!
AND if you no longer need those elements, make sure to lock it!
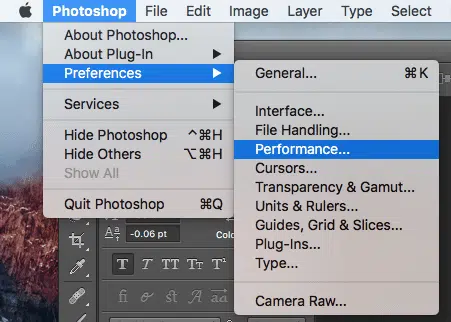
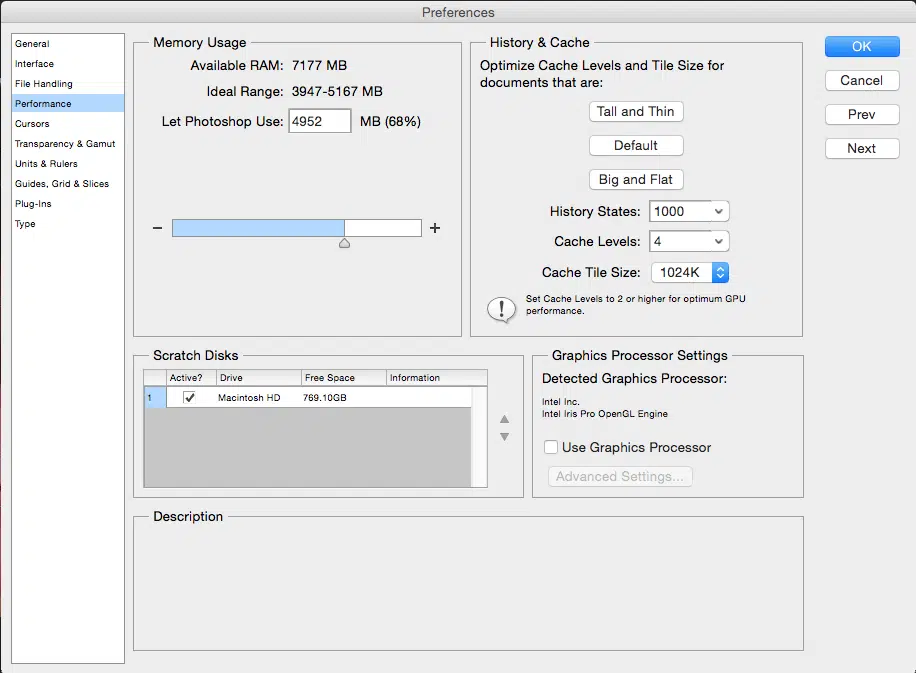
4. UNLIMITED # OF UNDOS IN PREFERENCES
We all love how Illustrator lets us go back in history an unlimited number of times, but unfortunately Photoshop’s history does not have the same default. Fortunately enough for you, there is a way to change that, go to Preferences > Performance > History Cache and then there will be section called, History States. This will change how many times you can go back and can be increased all the way to 1,000. Yay!
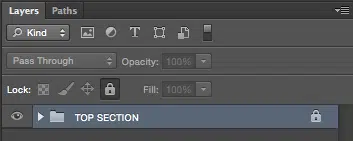
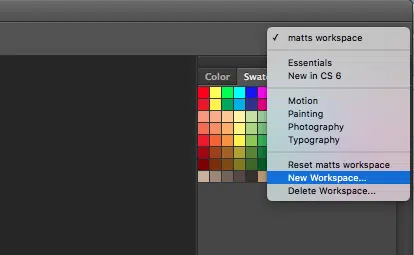
5. SAVING WORKSPACE LAYOUTS
Most designers will just stick with whatever layout Photoshop opens with but you can change the way your workspace looks, by arranging your panels, menus and tools that better suit your needs. On the top right of your Photoshop workspace, it probably is default to “Essentials,” there is a drop down menu where you can change which one you’re working in. If you want to save your own, arrange the workspace to your liking then return to this drop down menu and select “New Workspace” to save what you’ve done. Then it will appear like it does below for example, “matts workspace.”
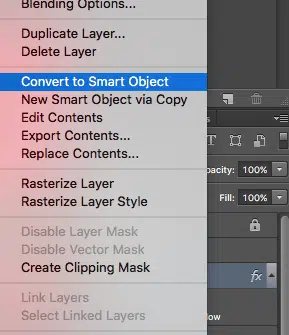
6. USE OF SMART OBJECTS
If you have never used a Smart Object before, you are so missing out! Smart Objects preserve an image’s source with all its original characteristics, allowing you to edit the layer and not be destructive to the original file. This is really useful transforming images, applying adjustment layers, etc. To convert an image or a layer to a Smart Object, you can right-click the layer and select “Convert to Smart Object.”
You can edit the contents of the original image by double-clicking the thumbnail of the Smart Object. It needs to be saved in order for the changes to be reflected in the file you’re working in. The keyboard shortcut I’ve customized for converting into a Smart Object is SHIFT + COMMAND + O and to edit the contents is SHIFT + COMMAND + E. This definitely saves you time when designing graphics using Smart Objects.
7. ALIGNING ELEMENTS

If you don’t want to create guides and move elements to make sure they’re aligned, you can try this neat trick! Select all the elements you want to align and press COMMAND + A, then these options along the top of your photoshop workspace will appear. If you hover your mouse over each it will tell you which alignment it is. When you select and align your elements you can press COMMAND + D to deselect and continue designing.
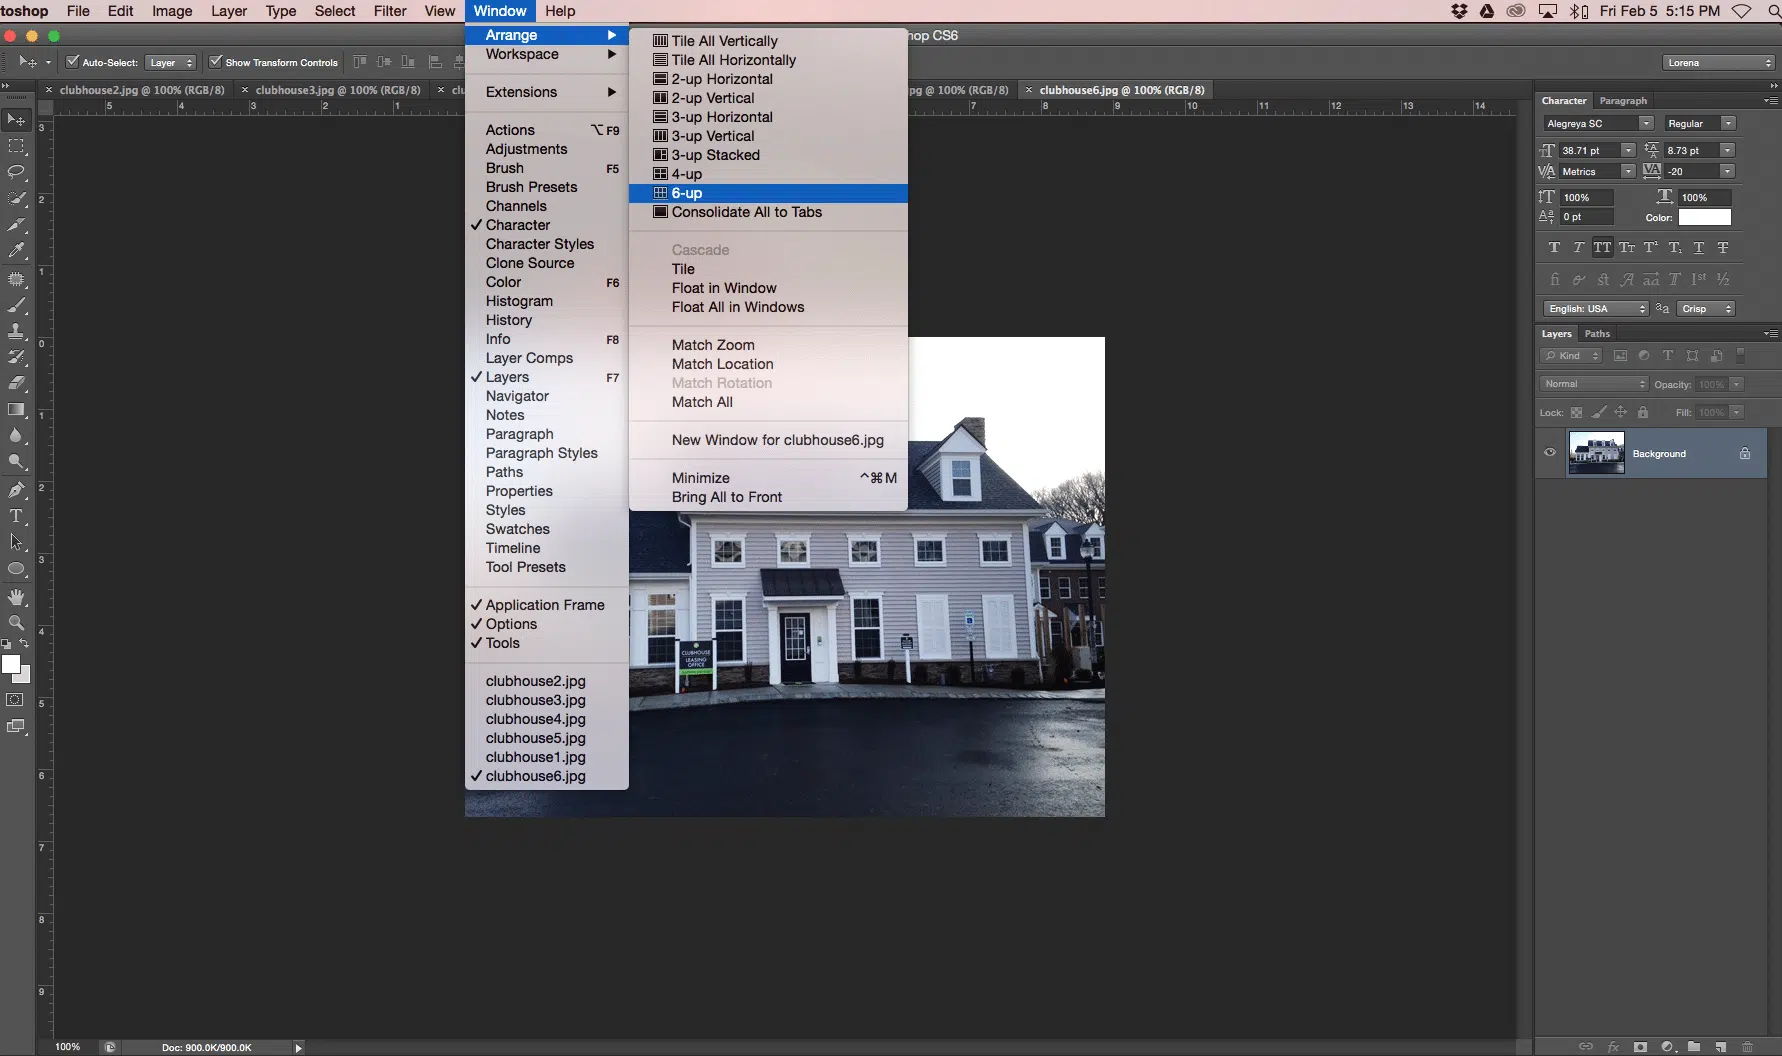
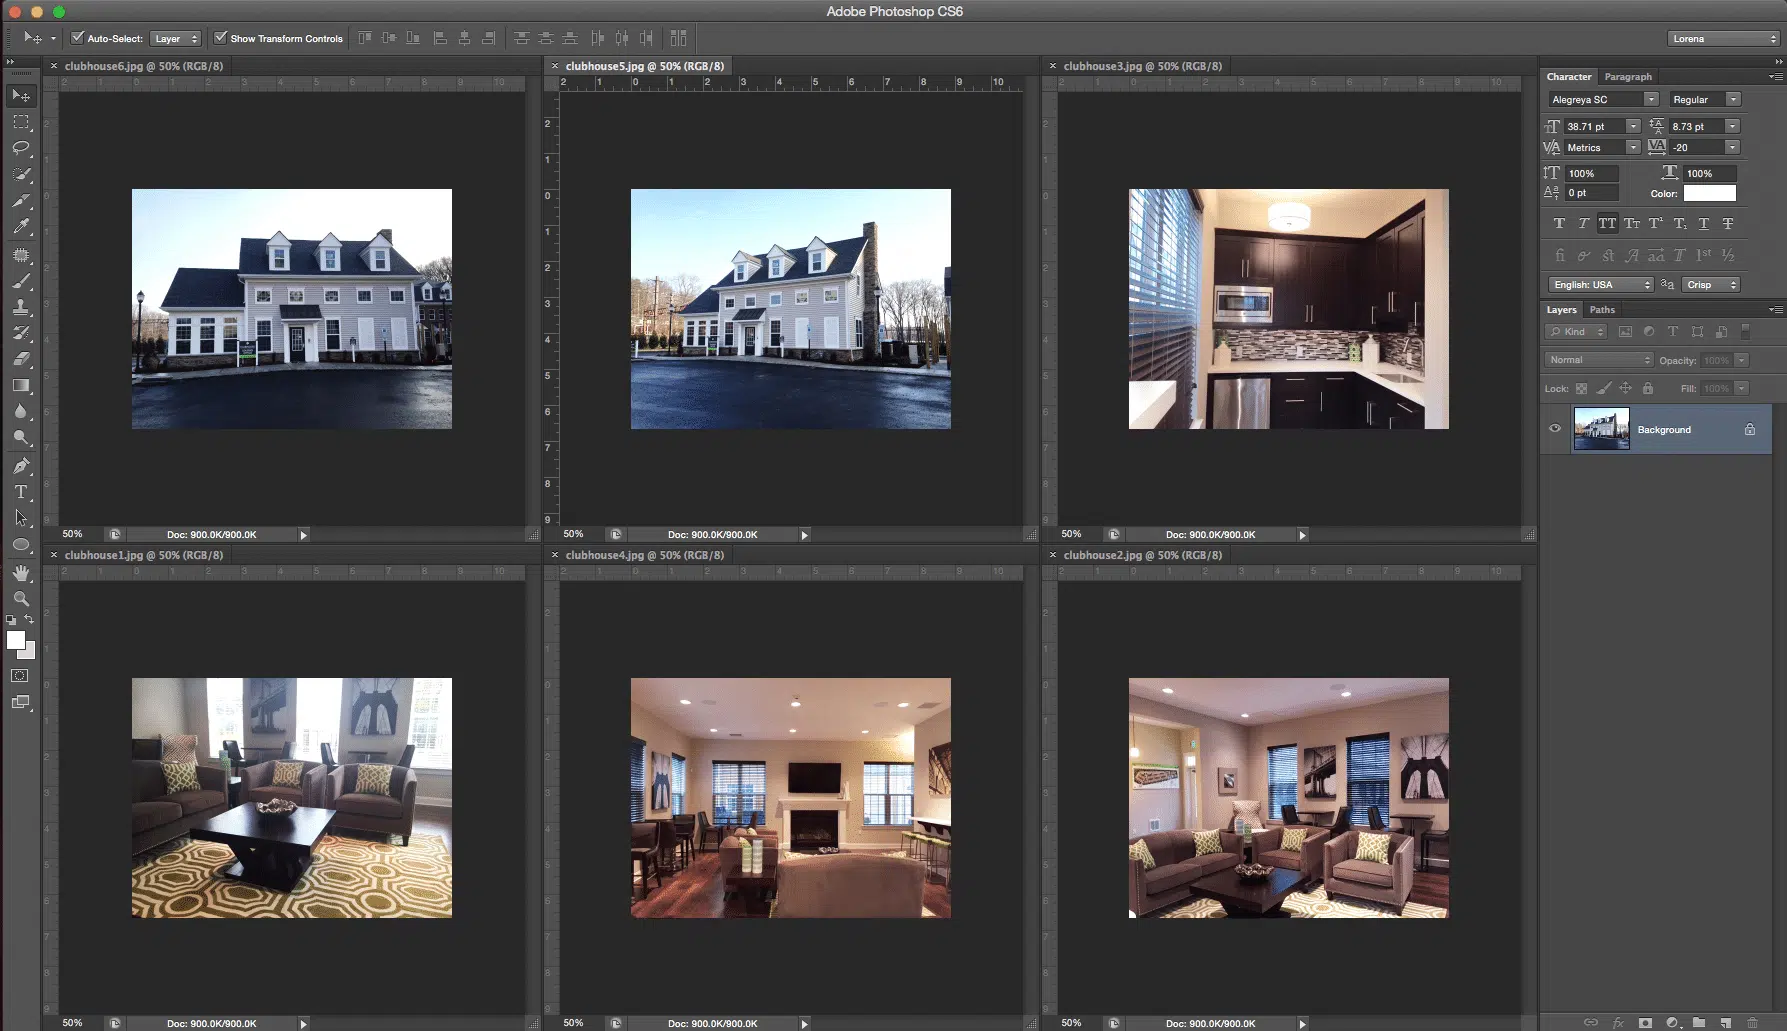
8. ARRANGE MULTIPLE FILES IN WINDOW
When comparing and editing multiple files it can be useful to utilize Photoshop’s multi-panel feature. To see more than one panel at one time, navigate via Window > Arrange, then choose a layout that best suits your project.
We hope that these tips help you become more efficient in Adobe Photoshop CS6. It definitely takes some practice to master these, but you’ll be a natural in no time!
Like this article? Read these!